REVIEW · PICO ISLAND
Pico Mountain Climb: Portugal’s Highest Point – 2351 meters
Book on GetYourGuide →Operated by Go Climb Pico · Bookable on GetYourGuide
Pico feels close to the end of the world in the best way. This guided climb to the 2351m summit of Pico Mountain is all about effort, reward, and volcano scenery you can’t fake. I especially like that the guides keep you moving safely and help you read the terrain, with standout people like Isabel, Raisa, Pedro, and Nuno repeatedly showing up in the group experience.
The possible drawback is that the day is physically demanding. The downhill on volcanic rock can feel more intense than the climb, especially if you’re not used to steep, uneven footing.
In This Review
- Key Highlights You’ll Feel in Your Legs and Camera Roll
- Pico Mountain Climb: Why 2351 Meters Feels Like a Proper Trophy
- The part I like most: guided confidence
- The part to respect: steep, uneven, and long enough
- Meeting at Mountain House in Madalena: The Safety Briefing That Makes the Hike Easier
- What you’ll learn before you step on the mountain
- First Steps: Viewpoint Photos, Quick Breaks, and Getting Your Bearings
- Inside Mount Pico Natural Reserve: The Best Kind of Gradual Grind
- Why this structure helps you
- A fun detail you’ll notice: your surroundings stay readable
- The Secret Stop and Mid-Hike Photo Breaks
- What to do with the picnic stop
- Approaching the Lava Cone: When the Terrain Gets Serious
- Why having a guide matters most right here
- Summit Moment: Coffee, Crater Views, and the Fumarole Effect
- What the views can be like
- Free coffee is not a throwaway
- The Descent on Volcanic Rock: Steep, Foggy, and Always a Real Workout
- Practical advice for your knees and ankles
- Price and Value: Is $93 for a 7-Hour Summit Worth It?
- What to Bring (and What to Skip) So You Don’t Feel Miserable
- Who This Pico Climb Fits Best (and Who Might Want Another Plan)
- Should You Book the Pico Mountain Climb with Go Climb Pico?
- FAQ
- How long does the Pico Mountain climb take?
- Where do I meet the guide?
- What’s included in the price?
- Do I need to bring my own meals or drinks?
- What should I wear or bring for the hike?
- Is this hike suitable for children or older adults?
Key Highlights You’ll Feel in Your Legs and Camera Roll
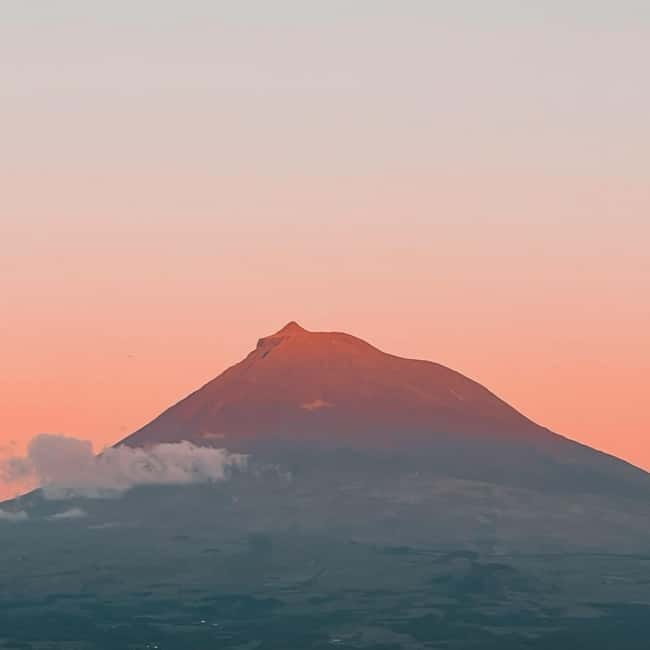
- Portugal’s highest point (Piquinho) at 2351m: a real summit moment, not a sightseeing detour
- Volcano crater + lava cone with fumaroles: you’re standing where the mountain breathes
- A guided route on volcanic rock with an average slope around 30%
- Free coffee at/near the top plus photo/video help from your guide
- More effort on the way down: fewer stops, so plan for tired-quads mode
Pico Mountain Climb: Why 2351 Meters Feels Like a Proper Trophy
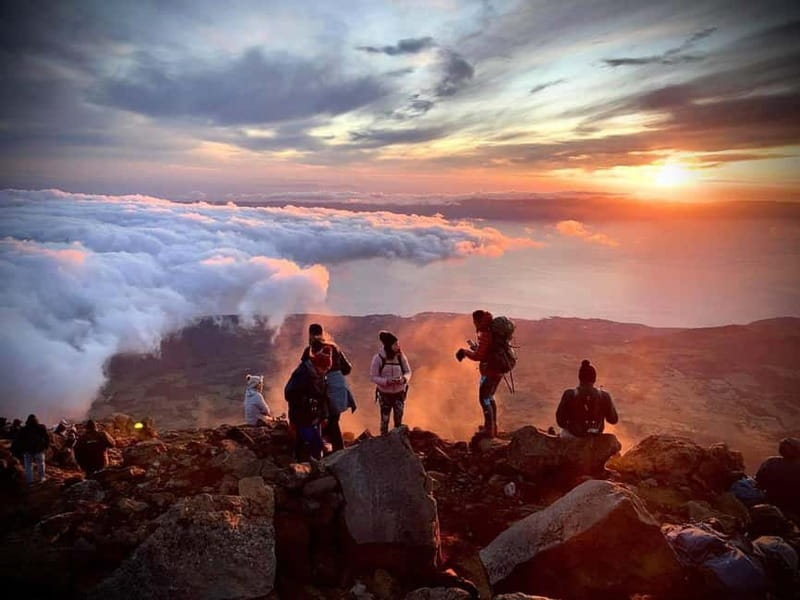
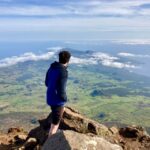
If you’re coming to the Azores for nature that looks like it was built for your hiking boots, this is the day. Pico Mountain is Portugal’s highest point, and the climb gives you that rare mix of challenge and clarity. You’ll work uphill, then you’ll see the volcano up close enough that it stops being a concept and becomes a place.
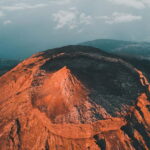
The summit payoff is the kind you remember on the flight home. At the top, you’re near the volcano crater area and you can reach the lava cone where fumaroles still show the mountain’s active story. It’s the moment you finally understand what you’ve been walking on all morning.
You can also read our reviews of more tours and experiences in Pico Island.
The part I like most: guided confidence
This trek isn’t just a random trail and a stick you hold onto. You get an experienced professional guide, plus walking sticks for comfort and safety. That matters because Pico is steep and can have loose rocks and uneven sections. With guides like Isabel and Raisa leading groups, you’re getting pacing help and practical tips for handling the trickier terrain.
The part to respect: steep, uneven, and long enough
This is a 7-hour experience on a route around 8 km long, with an average slope listed around 30%. Even when it feels manageable early on, the difficulty ramps up closer to the summit. And then the descent hits: reviews repeatedly point out that the downhill can be the tougher half.
Meeting at Mountain House in Madalena: The Safety Briefing That Makes the Hike Easier
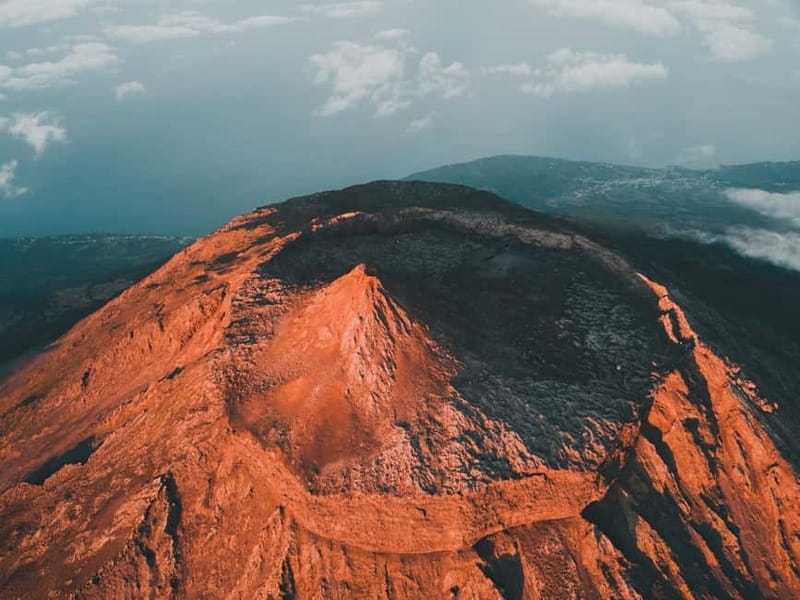
Your day starts at the Mountain House in Madalena. Check in with staff there, and your guide meets you on-site. Before you move, you get a full safety briefing and an equipment check, typically about 10 minutes.
This is a good time to sort yourself out. If you’ve brought the wrong shoes, this is where you want to find out. The hike doesn’t allow open-toed shoes, high heels, or even sports shoes. You’ll also want warm clothing because conditions on Pico can change quickly, and the top is exposed.
What you’ll learn before you step on the mountain
You’re not just told safety rules. You’ll get guidance on how to manage uneven surfaces, how to keep your attention during looser-rock sections, and how the route gradually gets harder as you approach the summit. Guides also help with pacing, which matters a lot on a steep climb.
First Steps: Viewpoint Photos, Quick Breaks, and Getting Your Bearings
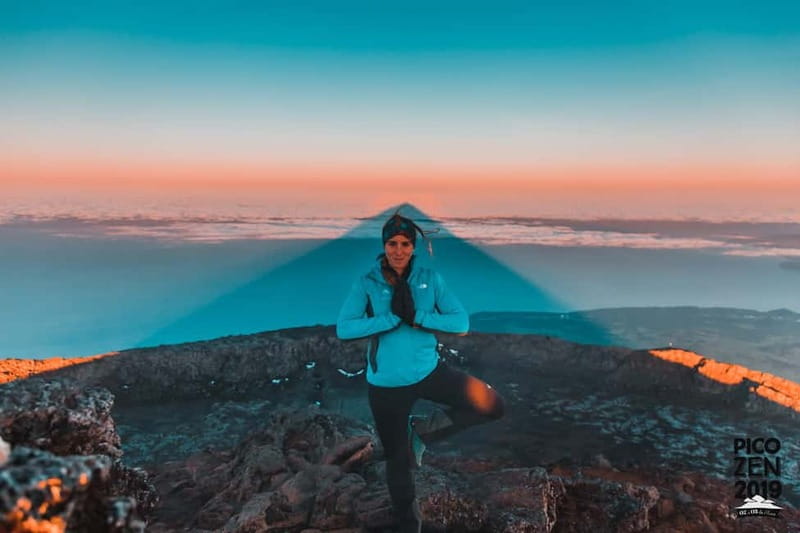
After the briefing, you’ll head to a viewpoint stop. Expect a short break with photo time and sightseeing, around 5 minutes. This isn’t filler. It’s a mental setup: you’ll start to see how exposed the terrain is and how the walking lines up with the mountain reserve.
Then you continue toward Mount Pico Natural Reserve, where the guided hiking time begins in earnest.
Inside Mount Pico Natural Reserve: The Best Kind of Gradual Grind
Once you’re in the reserve, the hike becomes a steady work session. You’ll spend about 1.5 hours on guided hiking here. This is where the route starts easier and gradually becomes harder as you get closer to the top.
Why this structure helps you
That gradual ramp is smart if you’re aiming for a successful summit. Instead of the kind of trail that jumps straight into steepness, you get time to settle into rhythm. You’ll still need focus—loose rocks and uneven footing show up—so the guide’s job is to keep you moving efficiently, not just walking slowly.
A fun detail you’ll notice: your surroundings stay readable
On volcanic terrain, landmarks help. The guide’s explanations can make the mountain feel less like a blank slope and more like a story you can follow. Guides such as Raisa are known for sharing geological context and local plant and fauna information, so you’ll understand what you’re looking at rather than just passing it.
The Secret Stop and Mid-Hike Photo Breaks
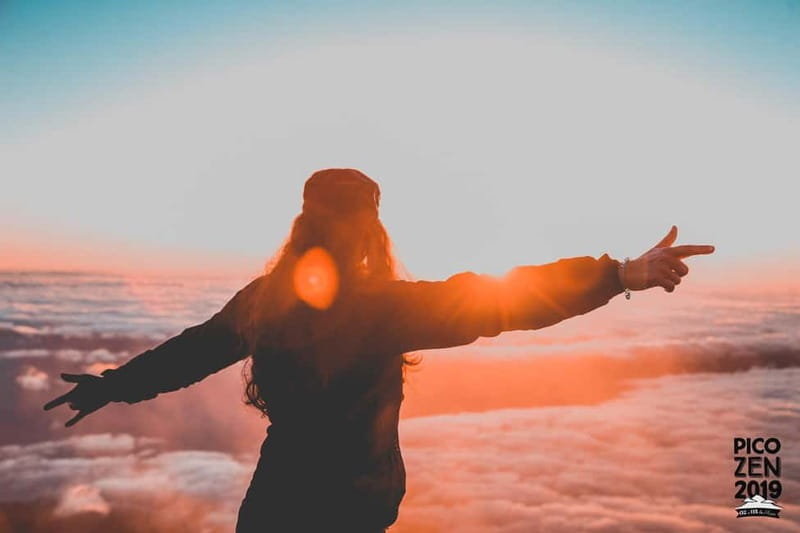
About halfway through the day’s flow, there’s a secret stop with around 10 minutes for a break and photos. Again, this isn’t just a photo op. It’s a checkpoint for energy management.
Then you continue with more guided hiking:
- Another 2 hours of guided walking
- A later 1.5 hours guided stretch
- Another guided section around 1.5 hours before the final return
Because the route is steep, these breaks help you keep form. If you try to “push through” without resting, your balance gets worse on loose volcanic rock.
What to do with the picnic stop
There’s also a photo stop with picnic time (about 20 minutes). Since meals and drinks aren’t included, treat this as your time to use what you brought. The tour does include free coffee, though, which is a nice summit tradition that gives you a reason to pause and savor the moment.
Approaching the Lava Cone: When the Terrain Gets Serious
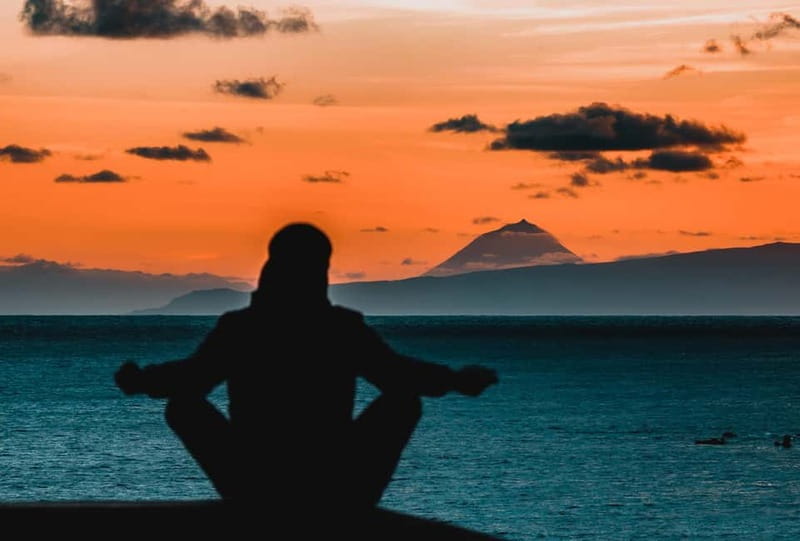
As you get closer to the top, the terrain becomes more challenging. The guide’s instructions become more important here. Expect sections that demand full attention due to:
- loose rocks
- uneven surfaces
- steeper angles that make foot placement a constant job
You might hear yourself thinking a few different thoughts as you climb. Some people describe it as straightforward early on, then clearly more intense closer to the summit. One review comparison that fits: the climb can feel like a stair-stepper for a long stretch, and the descent adds a second layer of effort because your legs are already tired.
Why having a guide matters most right here
Without a guide, you’d still be able to follow the trail. But Pico is the kind of place where it pays to have someone who can help you interpret the ground, choose safe steps, and keep the group together. Reviews repeatedly highlight that guides keep people safe and comfortable, and help with pacing for the day’s steeper sections.
Summit Moment: Coffee, Crater Views, and the Fumarole Effect
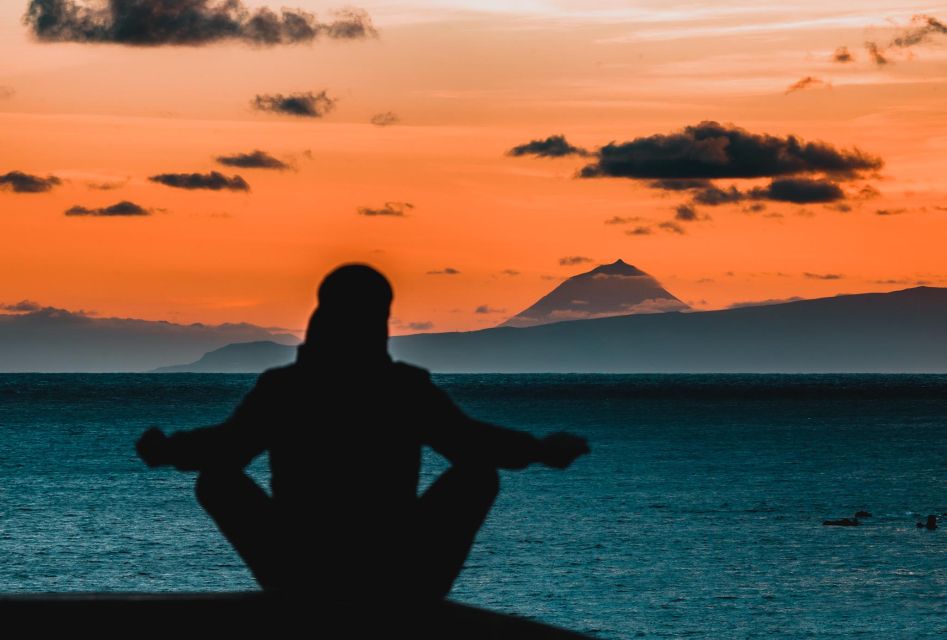
Reaching the summit is the big emotional shift. Before you finally attack the summit, you’ll rest near the volcano crater, take photos, and soak in the views.
At the top, you’ll get the chance to marvel at the volcano crater and reach the summit’s lava cone, where permanent fumaroles can be seen. Fumaroles are basically a reminder that this mountain is not finished writing its story.
What the views can be like
The summit is made for panoramic looking. On clear days, people have reported visibility across multiple islands (one group mentioned seeing four islands). Even if your weather isn’t perfect, the crater details and the lava-cone setting still deliver a strong sense of place.
Free coffee is not a throwaway
Yes, it’s coffee. But it’s also a ritual pause. Having it available at the top helps you slow down, stand still long enough to really look, and then start the next phase of the day without rushing.
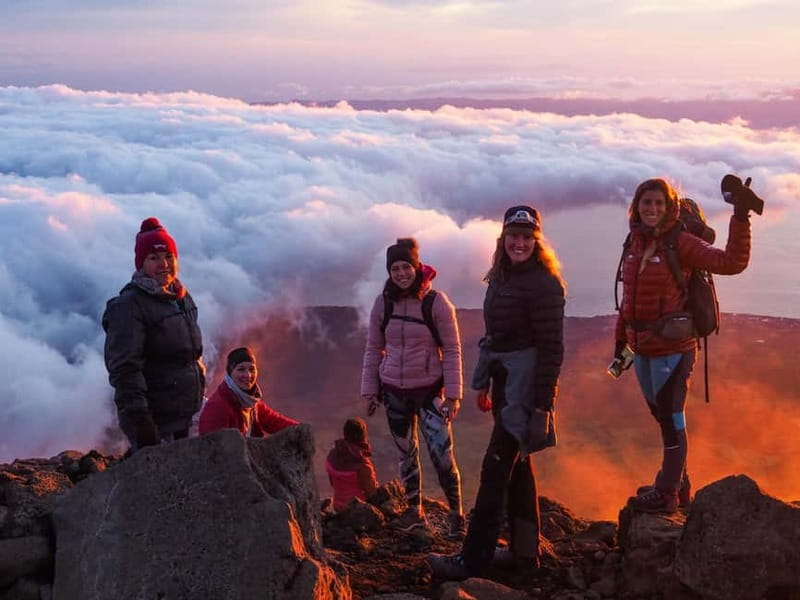
Guides like Pedro are noted for keeping people motivated, and some guides are specifically praised for how they handle the group’s summit photos and timing. The photos and videos included also help you avoid the panic of swapping camera gear with sore arms.
The Descent on Volcanic Rock: Steep, Foggy, and Always a Real Workout
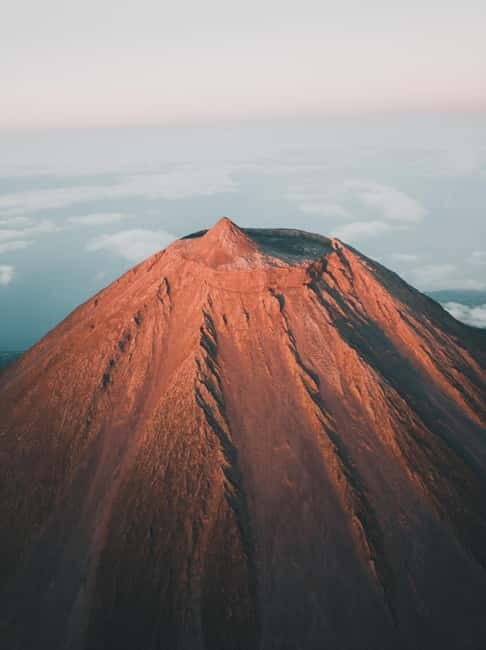
The descent is where the mountain tests your coordination. Your route down is built on volcanic rock, and the average slope being around 30% means you’re not gliding downhill. You’re controlling it.
There are fewer stops on the way down to keep your legs active. That’s good for stamina, but it also means you’ll want your hiking shoes to be grippy and your balance to be awake. Guides help here, especially if visibility drops or conditions get foggy. One guide (Raisa) was highlighted for helping keep people oriented when visibility was low on the descent.
Practical advice for your knees and ankles
- Use the provided walking sticks if your body likes support. Many people feel more stable when they use them properly.
- Move slower than you think you should. The goal is control, not speed.
- Keep your eyes on footing before you reach for photos.
If you come in expecting the hike to be “mostly uphill,” you’ll still enjoy it. You just might be surprised by how much the downhill asks from you.
Price and Value: Is $93 for a 7-Hour Summit Worth It?
At around $93 per person for a 7-hour guided climb, this is priced like an activity that’s actually doing something. You’re paying for:
- an experienced professional guide
- safety briefing and equipment check
- walking sticks provided
- personal accident insurance
- photos and videos taken for you
- free coffee near the top
That combination matters on a steep, volcanic trek. The guide isn’t just company; they’re part of your safety system, your pacing strategy, and your experience quality.
The cost is also easier to justify because you’re not paying separately for guided equipment. You still need to bring your own hiking shoes and other clothing, and meals and drinks aren’t included, so budget for snacks and water.
What to Bring (and What to Skip) So You Don’t Feel Miserable
You’ll get a better day if you show up ready. Bring:
- Warm clothing (layers help)
- Hiking shoes with good grip
- Water
- Snacks for the picnic break
- Weather-appropriate clothing
You’ll want to skip:
- open-toed shoes
- high-heeled shoes
- sports shoes
- pets (assistance dogs are allowed)
This is not the kind of hike where you can just improvise and hope. The terrain and slope mean your footwear and warmth matter from the first steps.
Who This Pico Climb Fits Best (and Who Might Want Another Plan)
This isn’t a kids’ outing. It’s not suitable for children under 12, pregnant women, people with back problems, people with mobility impairments, wheelchair users, people with low fitness, or people over 70.
That list isn’t there to be strict. It’s because:
- the route is steep (average slope around 30%)
- the descent can be intense
- you’ll need good stability and attention on uneven volcanic rock
If you’re comfortable with steep hikes and you know your limits, this can be an excellent “bucket list done” experience. The reviews also give you a clue about group energy: guides are described as motivating and attentive, with a strong focus on keeping everyone safe and comfortable.
Should You Book the Pico Mountain Climb with Go Climb Pico?
Book it if you want a guided, summit-focused day with volcano drama built in. If 2351 meters and the idea of standing near crater features and fumaroles gets your heart rate up, this is the right kind of hard.
Skip it (or choose a different style of Pico outing) if steep uneven trails make you nervous, if you have mobility or back concerns, or if you’re expecting a gentle walk. The descent is real. The timing is long. And you’ll get the best experience when you come prepared with proper shoes, warm layers, and enough snacks.
FAQ
How long does the Pico Mountain climb take?
The tour duration is listed as 7 hours, including the safety briefing, multiple guided hiking segments, and breaks near viewpoints and the crater area.
Where do I meet the guide?
You check in with staff at the Mountain House in Madalena, and your guide will meet you there.
What’s included in the price?
The experience includes fees and taxes, personal accident insurance, professional guide, walking sticks, and photos and videos. It also includes free coffee during the experience.
Do I need to bring my own meals or drinks?
Yes. Meals and drinks are not included, so you’ll want to bring snacks and water for the picnic and breaks.
What should I wear or bring for the hike?
Bring warm clothing, hiking shoes, snacks, and water, plus weather-appropriate layers. Open-toed shoes, high-heeled shoes, sports shoes, and pets are not allowed (assistance dogs are allowed).
Is this hike suitable for children or older adults?
It’s not suitable for children under 12 or for people over 70. It’s also not suitable for people with low fitness, back problems, mobility impairments, wheelchair users, or pregnant women.